TryHackMe - Disgruntled

Today, we will be exploring TryHackMe’s Disgruntled room. This challenge is marked as easy difficulty and involves fundamental Linux forensics. The room is more of a guided learning experience than a challenge, but it provides a good opportunity to practice multiple approaches and commands to reach the same answer.
Throughout this challenge, you’ll want to have the TryHackMe-branded Linux Forensics Cheatsheet open for quick reference.
Questions
Q1: The user installed a package on the machine using elevated privileges. According to the logs, what is the full COMMAND?
We can check the authentication logs to see commands executed with elevated privileges. Using either cat /var/log/auth.log* | grep -i COMMAND or a simpler grep -i "COMMAND" /var/log/auth.log, the full command is clearly visible. 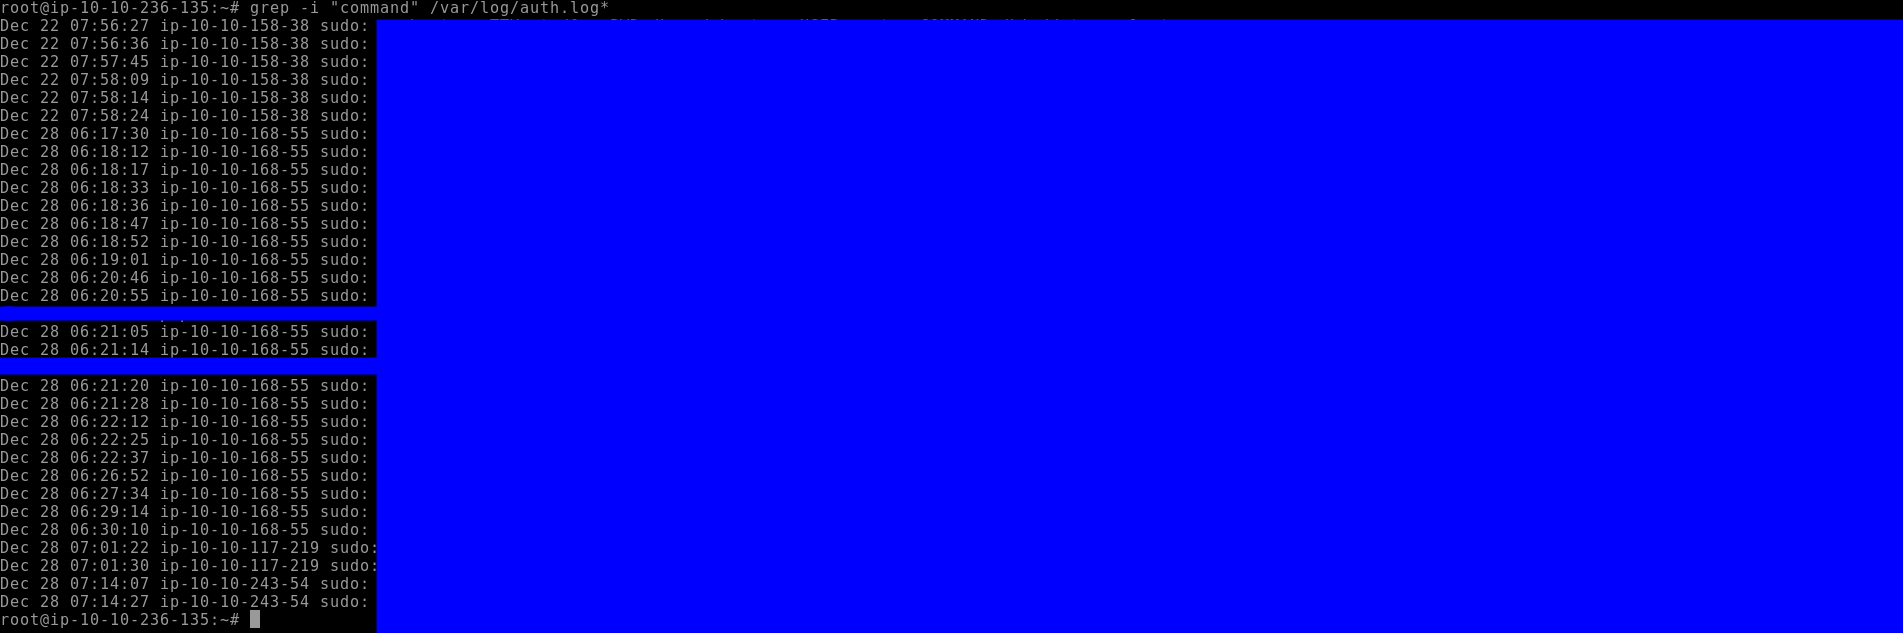
Q2: What was the present working directory (PWD) when the previous command was run?
The PWD can be found in the same log entry from Q1.
Q3: Which user was created after the package from the previous task was installed?
Continuing through /var/log/auth.log, we can locate the useradd command. Searching with grep -i "useradd" /var/log/auth.log shows which user was added following the package installation. 
Q4: A user was then later given sudo priveleges. When was the sudoers file updated? (Format: Month Day HH:MM:SS)
Answer can be found from the above process.
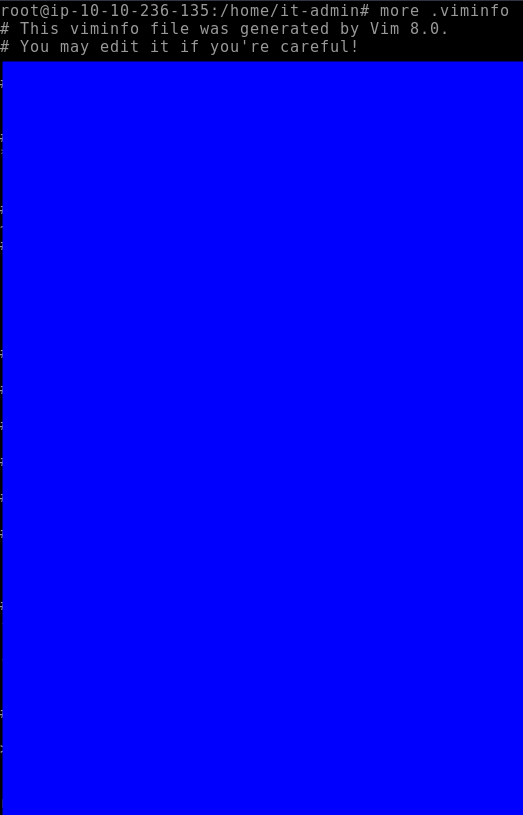
Q5: A script file was opened using the “vi” text editor. What is the name of this file?
By examining the hidden .viminfo file within the relevant home directory, we can identify the filename that was opened with vi.
Q6: What is the command used that created the file bomb.sh?
The .bash_history of the appropriate user shows the exact command used to create the file. Commands like cat, touch, or an editor invocation can reveal this. 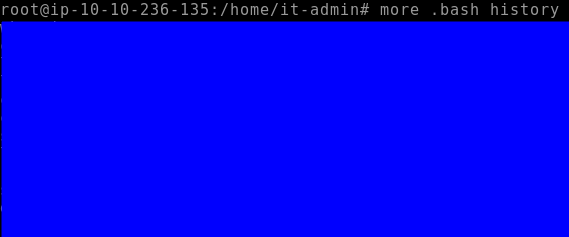
Q7: The file was renamed and moved to a different directory. What is the full path of this file now?
The updated path can be verified in .bash_history or by searching the filesystem for the renamed file.
Q8: When was the file from the previous question last modified? (Format: Month Day HH:MM)
You could find this information from typing ls -als. You really only need to put the -a flag for “all” to see user dotfiles. While looking for additional ways to see information about this, I came across the stat command. This command shows you file information like time last accessed, modified, as well as additional user and directory information. It even shows file modification times down to the subsecond value, which is pretty cool. 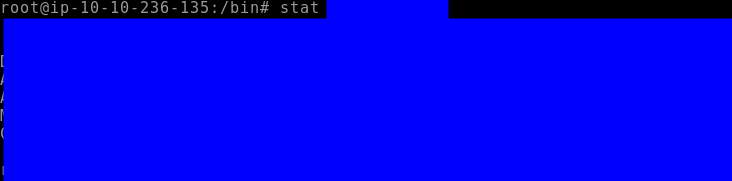
Q9: What is the name of the file that will get created when the file from the first question executes?
Reading the shell script reveals the name of the generated file. Version history and comments at the top of the script make it clear what the logic bomb is intended to create. 
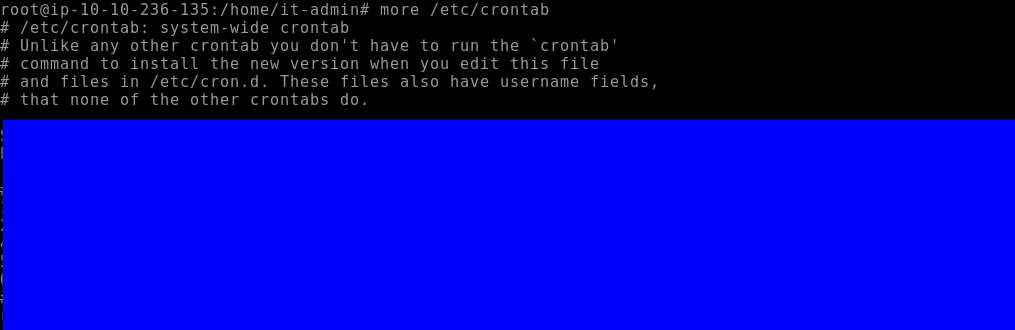
Q10: At what time will the malicious file trigger? (Format: HH:MM AM/PM)
By reviewing the .bash_history and inspecting cronjobs with crontab -e, we can determine when the script is scheduled to execute.
Reading the crontab isn’t difficult, but it can be good to refresh your skills here or by referring to one of LearnLinuxTV’s videos here.
Conclusion
This exercise walked through a fictional Linux logic bomb scenario, demonstrating how to investigate malicious activity step by step. By examining authentication logs, bash history, cronjobs, and hidden files, we can reconstruct user actions and understand potential threats.
Even though this was an easy challenge, it reinforces key skills for Linux forensics: tracking user activity, identifying privilege escalations, and tracing script-based attacks. This type of methodical log analysis and evidence gathering is directly applicable to real-world incident response and security operations. Writing up the investigation in a structured way highlights the ability to communicate findings clearly and professionally.