TryHackMe - Tardigrade

Today, we will be exploring TryHackMe’s Tardigrade room. This challenge is marked as medium difficulty and involves a quick look at fundamental Linux forensics and persistence techniques. Like the previous room I completed, this room is still more a guided learning experience than an actual challenge. That’s okay, though. I’ll work my way to additional blue-team themed challenges that involve less handholding soon enough.
You’ll need to start this room by using
sshto remote into the machine we need to investigate.
Questions
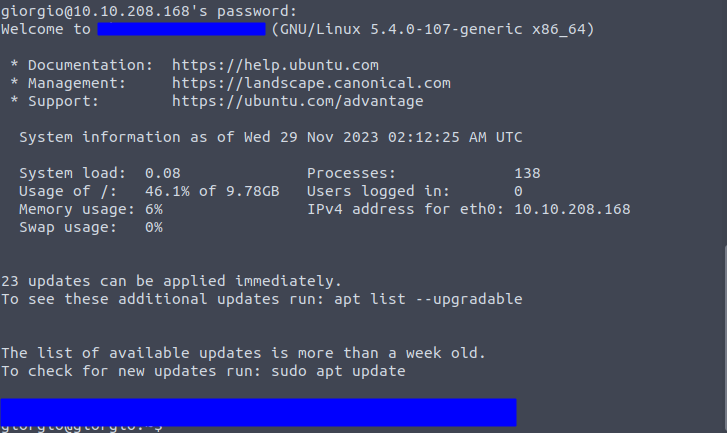
Task 1 Q1: What is the server’s OS version?
Our Incident Response team has graciously handed over the credentials for one of the users on this system (in plaintext, might I add!). Upon logging in to the server, you’ll be confronted with a friendly motd (message of the day) which contains our first answer. A motd can be usually configured to whatever the user might want. In this case, the default Ubuntu motd is being displayed. The server’s OS version is displayed at the very top of the motd.
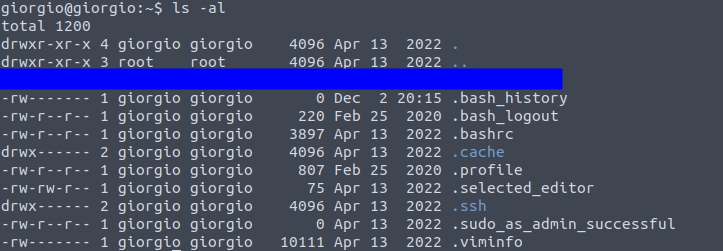
Task 2 Q1: What’s the most interesting file you found in giorgio’s home directory?
Let’s change directory to Giorgio’s home directory. Running ls alone shows nothing. Using ls -als reveals a dotfile that looks slightly out of place.
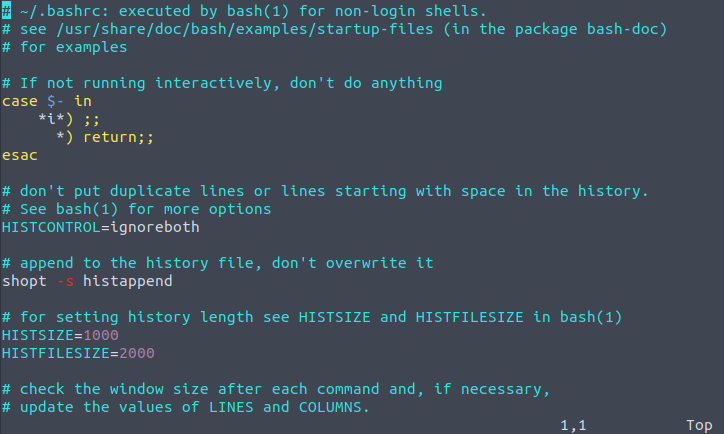
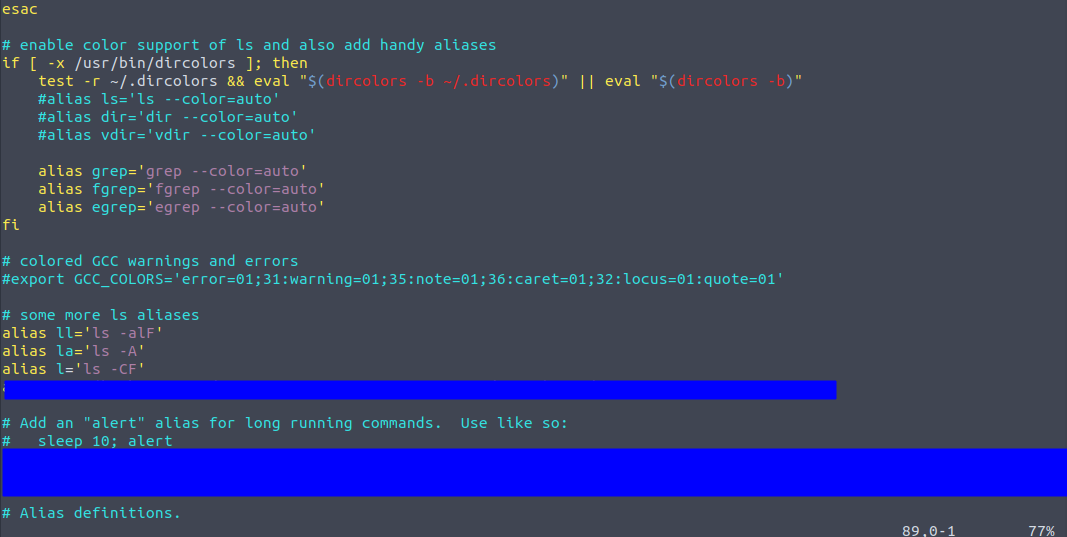
Task 2 Q2: Another file that can be found in every user’s home directory is the .bashrc file. Can you check if you can find something interesting in giorgio’s .bashrc?
I used vim to navigate the .bashrc file. Most of it looks normal, but scrolling down reveals a list of aliases, some normal and one quite abnormal.
Task 2 Q3: Did you find anything interesting about scheduled tasks?
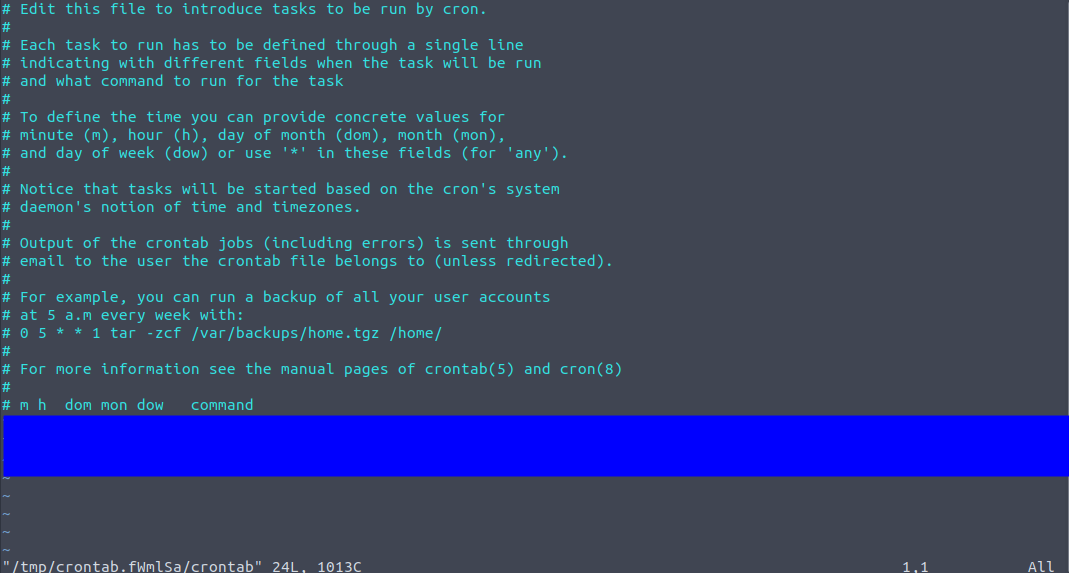
The question is here asking us to check out any cronjobs that might be doing anything malicious as an additional form of persistence. I used the crontab -e command to check it out. There’s only one cronjob listed in here- definitely not a cronjob that I would want running on any machine I own.
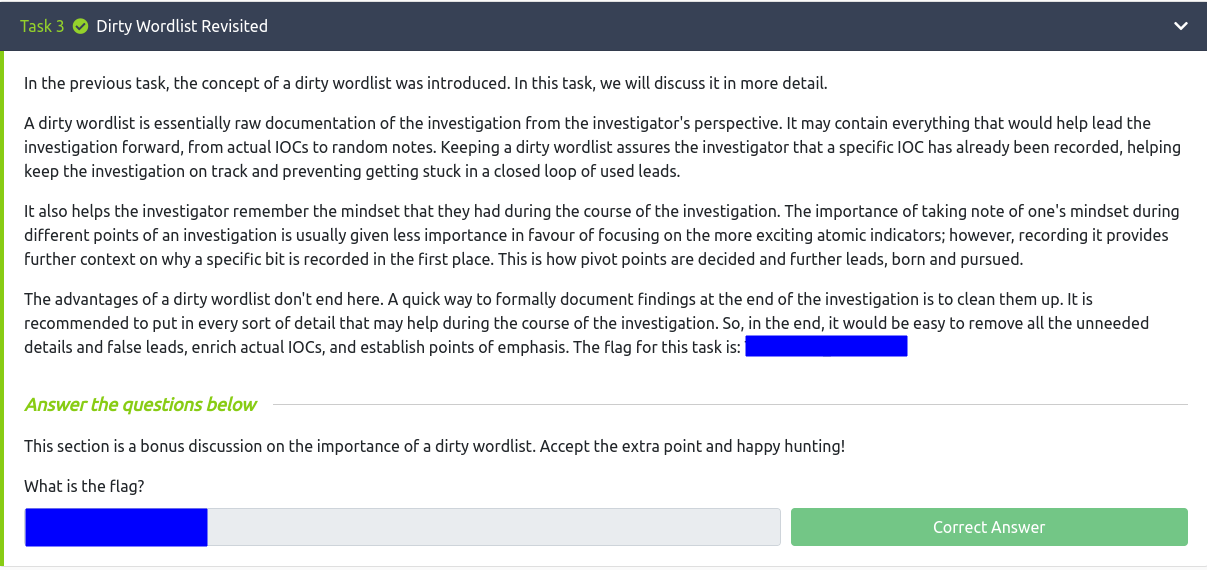
Task 3 Q1: What is the flag?
Just treat this section like expository dialogue. There’s a nice flag at the end for some extra points.
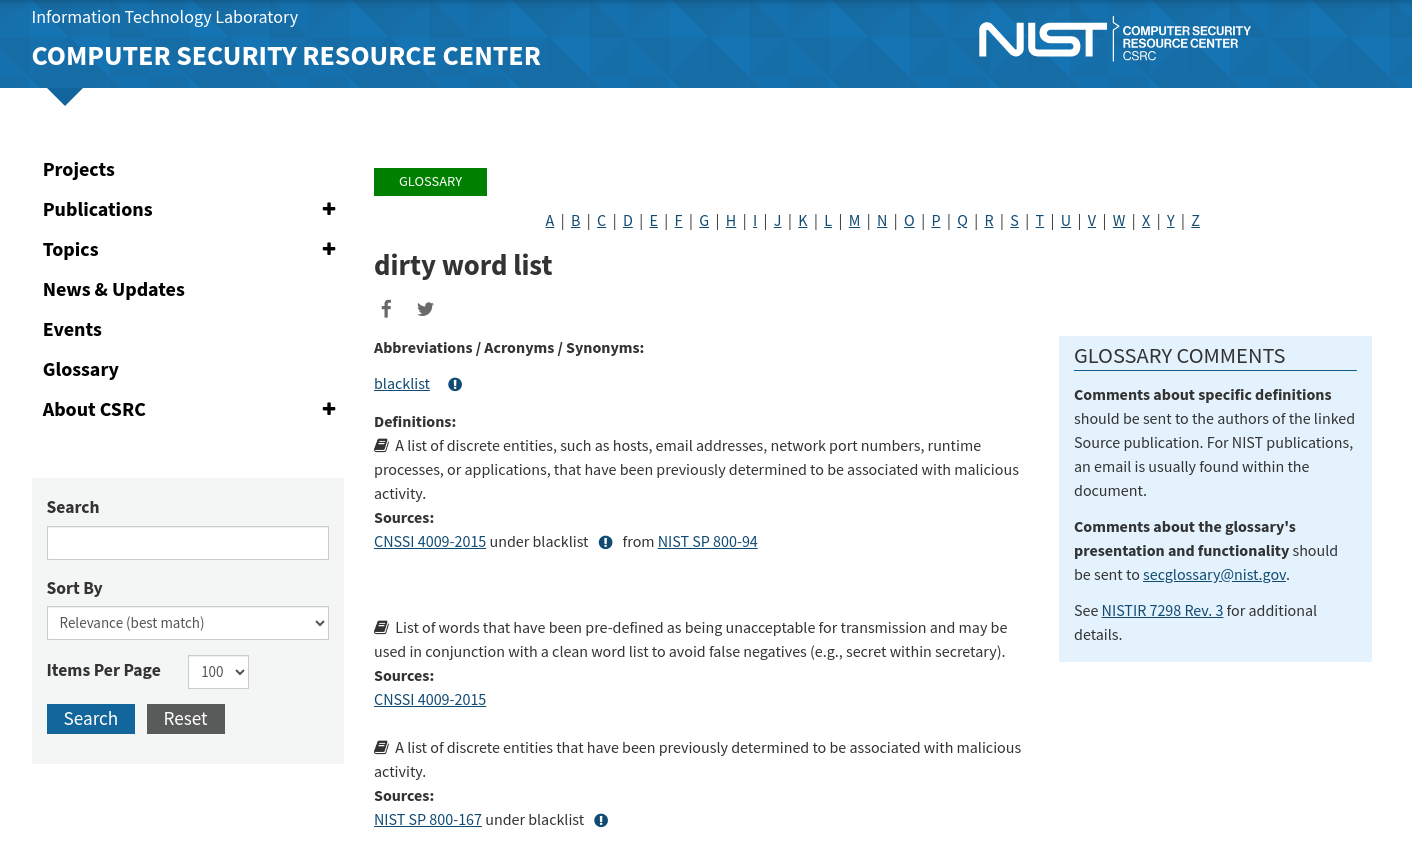
I hadn’t heard of this piece of terminology before, so I decided to do a quick Google search on it.
Task 4 Q1: A few moments after logging on to the root account, you find an error message in your terminal. What does it say?
To begin, we’ll need to effectively log in as root. But we don’t know the credentials of the root user, you might say. However, we can check to see if the current user giorgio has sudo access by running the sudo -l command.
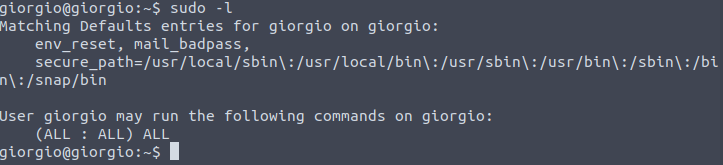
Great! Knowing that we can become root, let’s go ahead and do that by using the sudo su command.

We’re immediately confronted with a piece of text, letting us know that something has happened. I can’t really describe it without giving it away fully, but it involves some sort of timeout message and a familiar network connection utility.
Task 4 Q2: After moving forward with the error message, a suspicious command appears in the terminal as part of the error message.What command was displayed?
Press enter a couple times and you’re presented with the suspicious command. A running process got foregrounded or backgrounded or errored out.

Task 4 Q3: You might wonder, “how did that happen? I didn’t even do anything? I just logged as root, and it happened.” Can you find out how the suspicious command has been implemented?
If you were like me, you were probably a bit stumped here. All I did was log in to the system as root. Naturally, I thought about the priority of bash configuration files, naturally. You’ll need to change directory to the root directory and locate this bash configuration file there.
Task 5 Q1: What is the last persistence mechanism?
Up to this point, we’ve examined persistence through cronjobs, bash configuration files, and aliases. What else could remain hidden? The question nudges us toward examining the users on the system.
A traditional method is to inspect /etc/passwd, which lists all users on the machine. Most of these are system or daemon accounts, not actual human operators, but they can still be leveraged for persistence. While scanning through the list, one user consistently stood out to me-a shadowy presence that felt out of place: the nobody user.
This user is normal on Linux systems, but its unusual activity in this context made it an ideal candidate for a persistence mechanism. Identifying it required connecting past knowledge with intuition built from prior experience. Without that recognition, I might have spent a long time searching for other, less obvious clues.
Task 6 Q1: Finally, as you’ve already found the final persistence mechanism, there’s value in going all the way through to the end. The adversary left a golden nugget of “advise” somewhere. What is the nugget?
With the nobody user identified as the final persistence mechanism, I shifted to direct verification. I attempted an ssh login using the username of the service we suspected of compromise. To my advantage, the login credentials were the same as the username, a stroke of luck that made the next steps straightforward.
Once logged in, I ran ls -al in the home directory to inspect hidden files and dotfiles. There, I found the .youfoundme file, which contained the final flag. This reinforced a key lesson: persistence mechanisms often hide in plain sight, and careful inspection of system accounts, even the seemingly mundane ones, can reveal critical artifacts.
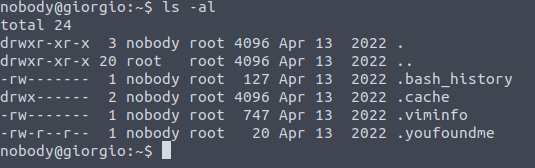
The .youfoundme file looks interesting. Just cat out the contents of that file to obtain the flag.
Conclusion
This room was a fun mix of luck and learning. I particularly enjoyed investigating the nobody user account and tracing persistence mechanisms through cronjobs, aliases, and bash configuration files.
The walkthrough emphasizes how attackers can maintain persistence using seemingly innocuous users and dotfiles. By completing this room, you gain practical insight into Linux forensic techniques and the importance of verifying user activity on a system. This foundation will be useful as I progress to more complex blue-team challenges.